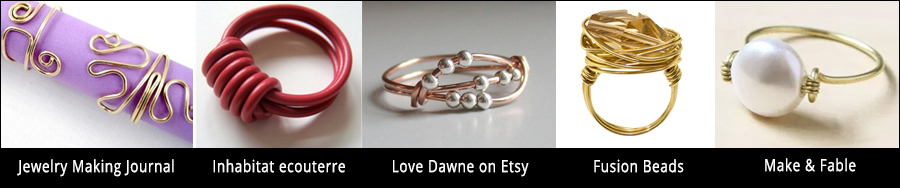
5 Tips for Beginning Jewelry Makers Working with Metal
(Please note: I earn no income from any of the product recommendations included in this post.)
Starting out making metal jewelry can be daunting. So many tools, metal gauges, soldering techniques, etc. Below are five tips for beginning jewelry makers working with metal.
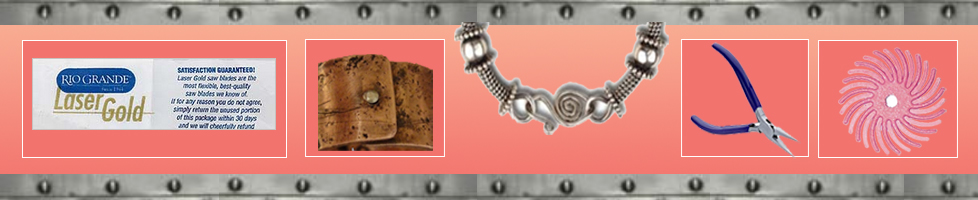
Tip 1: Use Good Quality Jeweler’s Saw Blades
Set yourself up for success by using quality saw blades like Laser Gold™. I find them sturdy and easy to use. You can buy them by size (12 to a package) for about $4.10 per package (as of this writing) or if you decide to advance your jewelry making, you might find their “Most Popular Assortment” package of 144 blades more economical.
Fire Mountain Gems® has a nice chart showing what size blade to use for what gauge of metal, which should simplify your choice of what size blades you purchase. Sizes range from 1-6 for heavier gauges of metal (6-20 gauge — 6 being the heaviest) and 01-06 for lighter gauges (20-24).
→ Also, see our post 5 Sawing Tutorials.
Tip 2: Try Cold Connections Before Soldering
Before trying soldering, get comfortable with "cold connection" techniques where pieces are held together using rivets, tabs, screws, etc. Interweave® has a nice overview of cold connection techniques.
If you find yourself hooked on cold connections, Helen Driggs has a wonderful DVD, Metalsmith Essentials: Riveting & Cold Connections. You will of course find a plethora of videos on YouTube.
Tip 3: Learn Basic Wire-Working Skills
Learn to make simple connection components and clasps for your pieces. I really like the jewelry of Connie Fox and she has a great set of tutorials on the basics. Also, see our earlier post How to Make Jewelry Clasps.
Tip 4: Start with Only a Few Sets of Pliers/Cutters
Start with round nose, chain-nose, flat-nose, flush cutters and crimping pliers. If you know you’re going to stay with jewelry making and you’re feeling flush, Lindstrom® makes a beautiful set of pliers that includes a cutter.
Tip 5: Limit the Number of Rotary Tool Accessories You Use
Using a flex shaft to finish your jewelry pieces makes most finishing jobs easier and faster. However, I would recommend limiting yourself to a small set of flex shaft accessories and going initially for a matte finish. You can get by in the beginning with these rotary accessories: sandpaper cartridge rolls and Dedeco Sunburst Radial Discs. The Sunburst discs come in varying grits, which you use in order from most abrasive to least.
Do you have any tips for beginning jewelry makers?